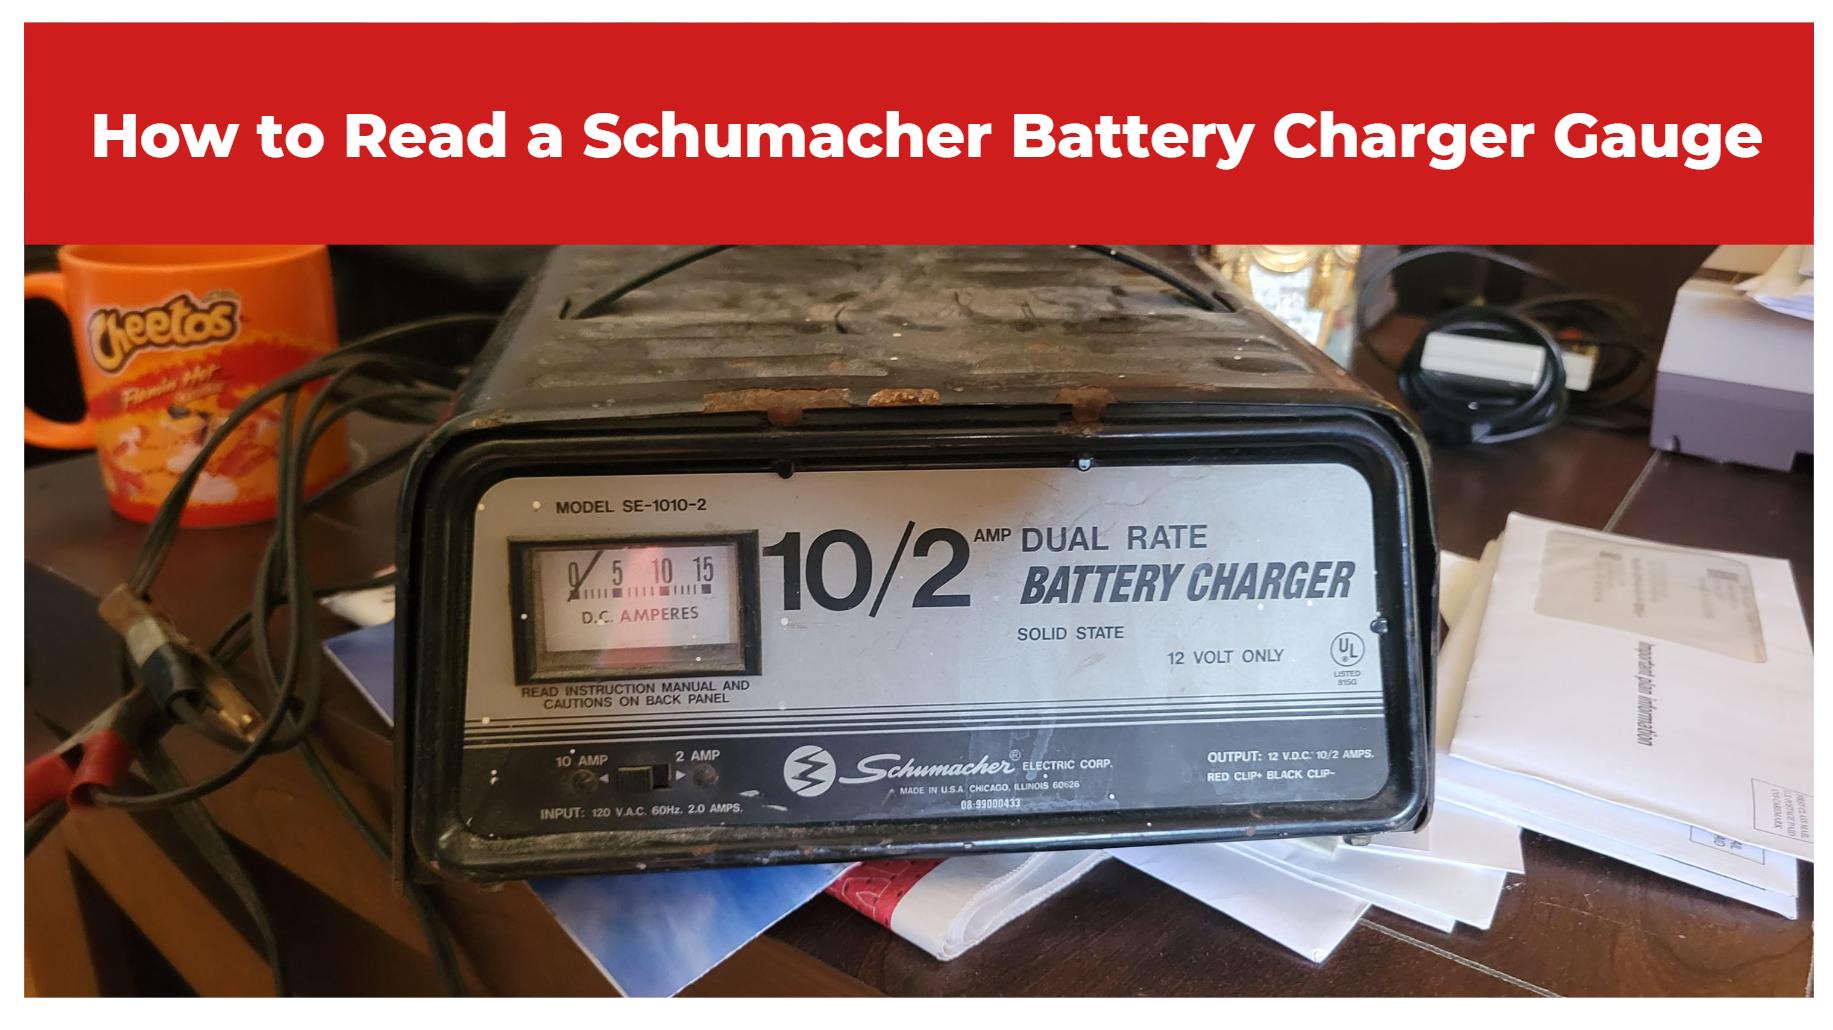
Effectively reading a Schumacher battery charger gauge involves understanding its needle or digital display that shows voltage, amperage, and charge percentage. Recognizing these indicators helps monitor battery charge status, avoid overcharging, and maintain battery health safely and efficiently during the charging process.
What Are the Different Types of Schumacher Battery Charger Gauges?
Schumacher battery chargers typically use analog gauges featuring a needle that moves across a scale, and digital displays that provide numerical readouts of voltage, current, and sometimes charge percentage. Analog gauges offer simple visual cues, whereas digital gauges offer detailed, precise readings for better monitoring.
How Do You Read the Analog Gauge on a Schumacher Battery Charger?
To read an analog gauge, observe the needle’s position relative to the marked amp or voltage scale. Generally:
0-2 amps indicates the battery is fully charged or in maintenance mode.
2-10 amps signals moderate charging.
10-30 amps means rapid charging.
Needle stability means charging is ongoing; if it stops moving early, it could indicate a problem.
What Do Digital Display Readings Mean on a Schumacher Charger?
Digital displays provide precise voltage, current, and sometimes charge percentage:
Voltage Reading: Approximately 12.6–12.8 volts indicates a full charge.
Current Reading: Shows the amperage supplied to the battery; higher current means faster charging.
Charge Percentage: Displays how far along the battery is in its charging cycle.
These metrics enable users to track charging efficiency accurately.
Which Readings Indicate Charging Status and Battery Health?
Charging status is determined by rising voltage and current readings. For example:
Voltage below 12.4 volts typically means the battery is discharged.
A needle moving toward zero amps indicates the battery is reaching full charge.
Stable voltage near 12.6–12.8 volts means the battery is healthy and fully charged.
Monitoring these readings helps prevent overcharging and detects issues early.
Why Is Understanding Schumacher Charger Gauges Important?
Proper interpretation of gauge readings safeguards battery life by:
Preventing overcharging, which damages batteries.
Ensuring batteries reach full charge efficiently.
Allowing early detection of faults such as short circuits or battery failure.
By reading gauges correctly, users extend battery life and avoid costly replacements.
How Can You Troubleshoot Common Issues Using the Gauge?
If the gauge needle doesn’t move or fluctuates erratically, check charger connections and power supply. A consistently high amp reading may signal a shorted or defective battery. Erratic gauge behavior often points to loose clamps or internal charger issues. Using the gauge as a diagnostic tool helps maintain charger and battery health.
When Should You Disconnect the Battery Based on Gauge Readings?
Disconnect the battery when the needle drops to near zero amps on analog gauges or the digital display shows full charge voltage (~12.6 to 12.8 volts) and current near zero. This timing avoids overcharging and prolongs battery life. Always consult the user manual for specific charger model recommendations.
How Does Schumacher’s Charging Rate Affect Gauge Interpretation?
Schumacher chargers often have selectable charging rates (2, 6, 10 amps). Higher rates charge batteries faster but require careful gauge monitoring to avoid excessive current flow. The gauge needle or digital display will reflect the chosen rate, so adjust expectations and monitor accordingly.
What Are the Safety Tips When Using Schumacher Battery Chargers?
Always connect positive to positive and negative to negative terminals securely.
Charge in a well-ventilated area to avoid gas buildup.
Monitor gauge readouts continuously during charging.
Avoid charging frozen or damaged batteries.
Follow manufacturer’s instructions and safety warnings.
Proper use ensures effective, safe charging and battery longevity.
How Does Redway Battery’s Expertise Relate to Battery Charging and Gauge Use?
Redway Battery, a leader in OEM lithium battery manufacturing, integrates smart battery management systems enabling precise charge monitoring. Their expertise complements the use of reliable chargers like Schumacher’s by emphasizing correct charge cycles, battery safety, and data-driven charging decisions to optimize battery performance and lifespan across applications.
Redway Battery Expert Views
“Accurate monitoring of battery charging via gauges is critical to maintaining battery health and performance. At Redway Battery, we emphasize the importance of integrating sophisticated battery management with user-friendly diagnostics. Understanding how to read charging gauges, like those on Schumacher chargers, empowers users to prolong battery lifespan and ensure optimal power delivery in diverse applications, from forklifts to telecom equipment.”
— Senior Battery Engineer, Redway Battery
Summary of Key Takeaways
Schumacher battery chargers feature analog needle gauges and digital displays for voltage, amperage, and charge level monitoring.
Analog gauge needle positions correlate with charging speed and battery state: 0-2 amps (charged), 2-10 amps (moderate charging), above 10 amps (rapid charging).
Digital displays show precise voltage (12.6–12.8V for full charge) and current values, aiding exact monitoring.
Understanding gauge readings prevents overcharging and battery damage.
Troubleshoot irregular gauge behavior by checking connections and battery condition.
Redway Battery’s focus on battery management systems aligns with effective charging, promoting safer, longer-lasting batteries.
Frequently Asked Questions (FAQs)
Q1: How can I tell when my battery is fully charged using a Schumacher charger?
A: When the analog gauge needle is near zero amps or the digital display shows 12.6–12.8 volts with low current, the battery is fully charged.
Q2: What should I do if the gauge needle doesn’t move when charging?
A: Check all cable connections, power supply, and battery terminals to ensure good contact.
Q3: Can I leave my battery on the charger overnight using Schumacher’s gauge as a guide?
A: It’s best to disconnect once fully charged to avoid overcharging unless your charger has an automatic maintenance mode.
Q4: How do different charging rates affect gauge readings?
A: Higher amperage settings produce higher needle or current readings; monitor carefully to prevent excessive charge rates.
Q5: Does Redway Battery recommend any specific practices for battery charging?
A: Yes, Redway Battery advises using smart chargers, monitoring charge indicators, and employing battery management systems for optimal safety and lifespan.


