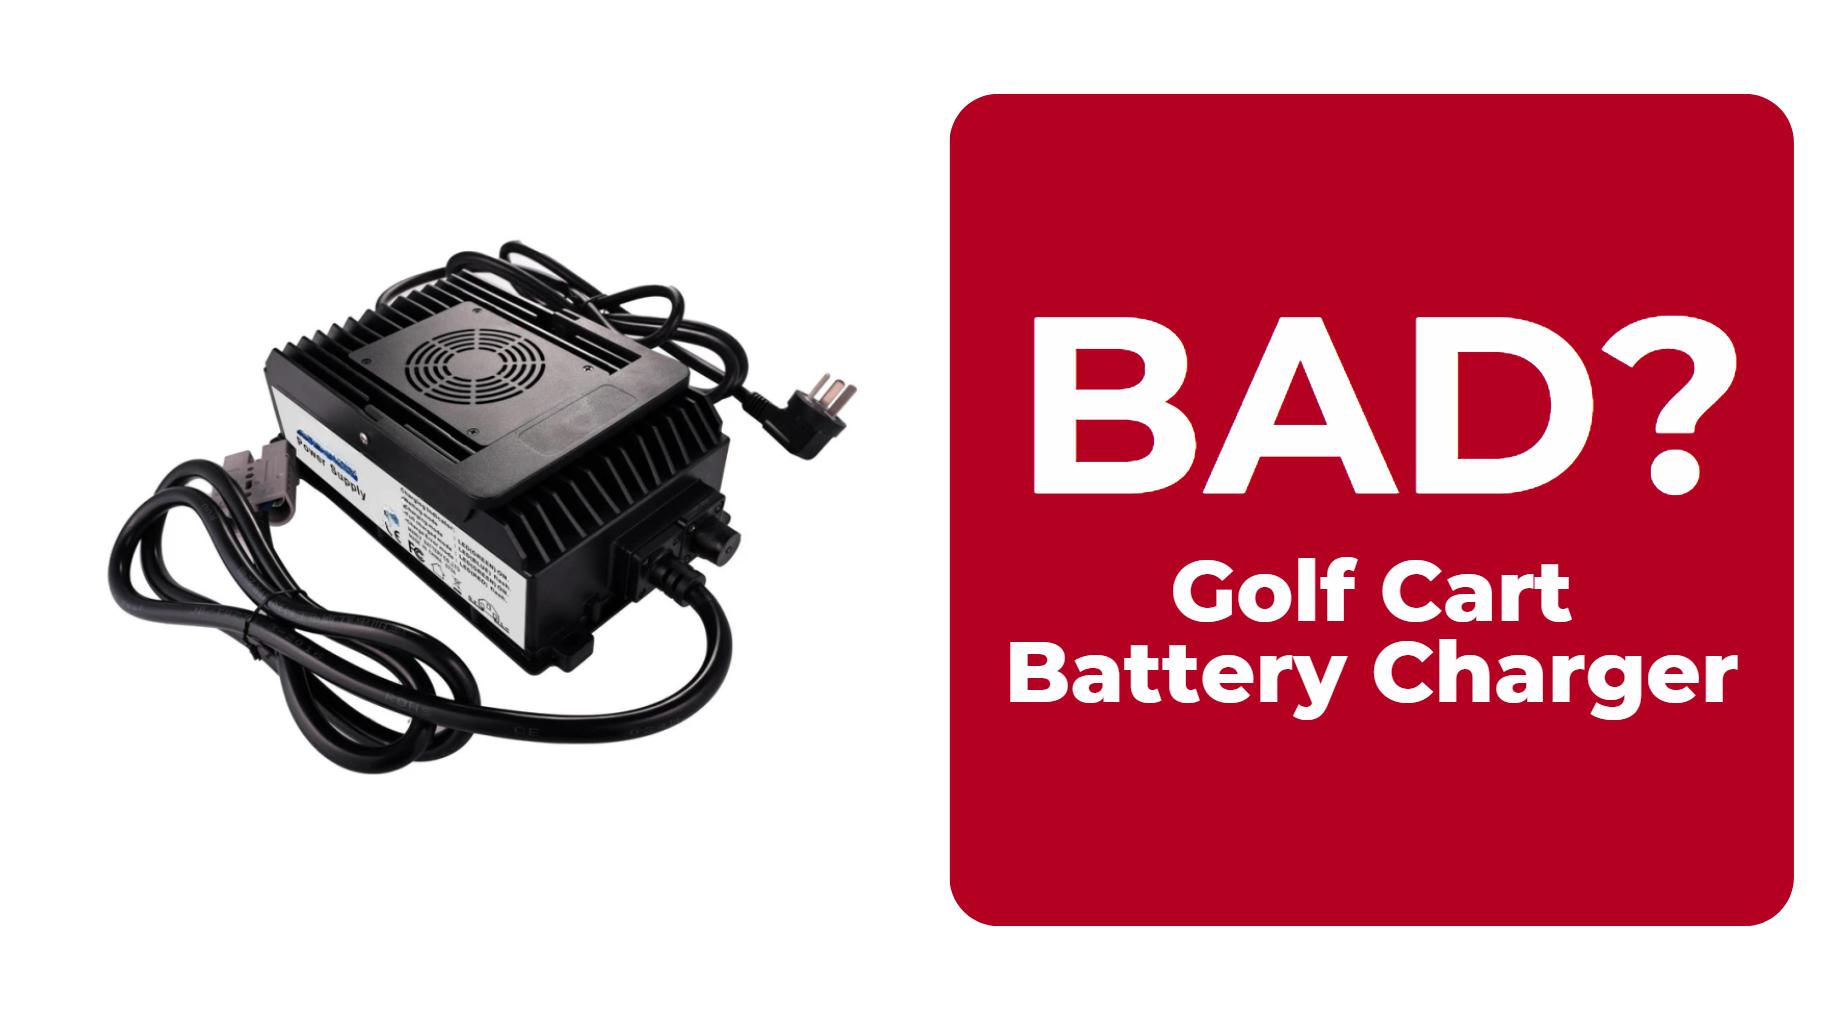
Identifying a bad golf cart battery charger is crucial for maintaining your cart’s performance. Common signs include failure to turn on, unusual noises, and inadequate charging. By checking connections and testing the output, you can determine if the charger is malfunctioning or if the issue lies elsewhere, such as with the batteries themselves.
What Are the Signs of a Bad Golf Cart Battery Charger?
Several indicators can suggest that your golf cart battery charger is not functioning properly:
- No Power: The charger does not turn on when plugged in.
- Unusual Sounds: Clicking or buzzing noises may indicate internal issues.
- Inadequate Charging: The charger turns on but fails to charge the batteries fully.
- Overheating: Excessive heat during operation can signal a malfunction.
- Error Lights: Many chargers have LED indicators that display error codes or status.
How Can You Check the Connections on Your Charger?
Proper connections are essential for charger functionality. Follow these steps to check connections:
- Inspect Cables: Look for frayed wires or corrosion on terminals.
- Tighten Connections: Ensure all battery cables are securely fastened to their terminals.
- Clean Terminals: Use a wire brush or terminal cleaner to remove corrosion.
- Use a Voltage Tester: Check each connection with a multimeter to confirm they are receiving power.
What Should You Do If Your Charger Won’t Turn On?
If your charger does not turn on, try these troubleshooting steps:
- Check Power Source: Ensure that the outlet is functioning by testing it with another device.
- Inspect Circuit Breaker: Reset any tripped breakers that may affect power supply.
- Examine Charger Power Cord: Look for damage along the cord that may prevent power flow.
- Test with Another Charger: If available, try using a different charger to see if it works.
How Do You Know If Your Charger Is Working?
To determine if your charger is operational:
- Listen for Sounds: A functional charger typically emits a low humming sound when activated.
- Check Indicator Lights: Most chargers have LED lights indicating charging status; refer to the manual for specific meanings.
- Measure Output Voltage: Use a multimeter to check if the output voltage meets specifications (usually higher than battery voltage when charging).
Chart: Expected Voltage Outputs for Different Chargers
| Charger Type | Expected Output Voltage |
|---|---|
| Standard 36V | 42V – 45V |
| Standard 48V | 54V – 58V |
| Standard 48V Club Car | 48V – 54V |
What Are Common Problems with Golf Cart Chargers?
Common issues that can arise with golf cart chargers include:
- Faulty Relay: A malfunctioning relay can prevent the charger from starting.
- Internal Circuit Board Failure: Damage to internal components can disrupt charging functions.
- Inadequate Amperage Output: Chargers must provide sufficient amperage for effective charging; check specifications against your battery requirements.
How Can You Test the Output of Your Charger?
To test your charger’s output:
- Set Up Multimeter: Connect a multimeter to the charger’s output terminals.
- Plug in the Charger: Ensure it is connected to power and batteries.
- Read Voltage Output: The output should be higher than the nominal voltage of your batteries (e.g., 42V for a 36V system).
What Factors Affect Golf Cart Charging Performance?
Several factors can influence how well your golf cart charges:
- Battery Condition: Old or damaged batteries may not hold a charge effectively, affecting overall performance.
- Temperature Conditions: Extreme temperatures can impact charging efficiency; cold weather may slow down chemical reactions within batteries.
- Charger Compatibility: Ensure that your charger matches your battery type and voltage requirements.
How Can You Troubleshoot Charging Issues?
If you encounter charging issues, follow these troubleshooting steps:
- Check Battery Voltage Levels: Use a multimeter to measure each battery in the pack; they should be within acceptable ranges (e.g., around 6V for standard golf cart batteries).
- Inspect All Connections Again: Revisit all connections and ensure they are tight and clean.
- Test Each Battery Individually: Identify any weak or dead batteries that could be causing issues.
When Should You Replace Your Golf Cart Battery Charger?
Consider replacing your golf cart battery charger if:
- It Fails to Turn On After Troubleshooting: If all checks have been performed and it still doesn’t work, replacement is likely necessary.
- Output Voltage is Inconsistent or Low: A charger should consistently provide adequate voltage; erratic readings indicate failure.
- Physical Damage is Present: Any visible damage, such as cracks or burnt components, warrants replacement.
Troubleshooting Golf Cart Batteries: Finding the Bad One
FAQ Section
- How do I know if my golf cart battery charger is bad?
Signs include no power, unusual sounds, inadequate charging, overheating, or error lights. - What should I do first if my charger won’t turn on?
Check the power source, inspect circuit breakers, examine cables, and test with another charger if possible. - Can I fix my golf cart battery charger myself?
Minor issues like loose connections can often be fixed at home; however, internal problems typically require professional repair or replacement. - How often should I check my golf cart battery charger?
Regular checks are recommended before and after each use to ensure optimal performance and safety.
Know more:
How to Test a Yamaha Golf Cart Battery Charger Effectively
How to Test a Golf Cart Battery Charger with a Multimeter
How to Troubleshoot a 36 Volt Golf Cart Charger
How to Diagnose and Fix a 48V Golf Cart Charger That Isn’t Working
How to Effectively Reset Your Golf Cart Charger
How to Identify a Bad Golf Cart Battery Charger


