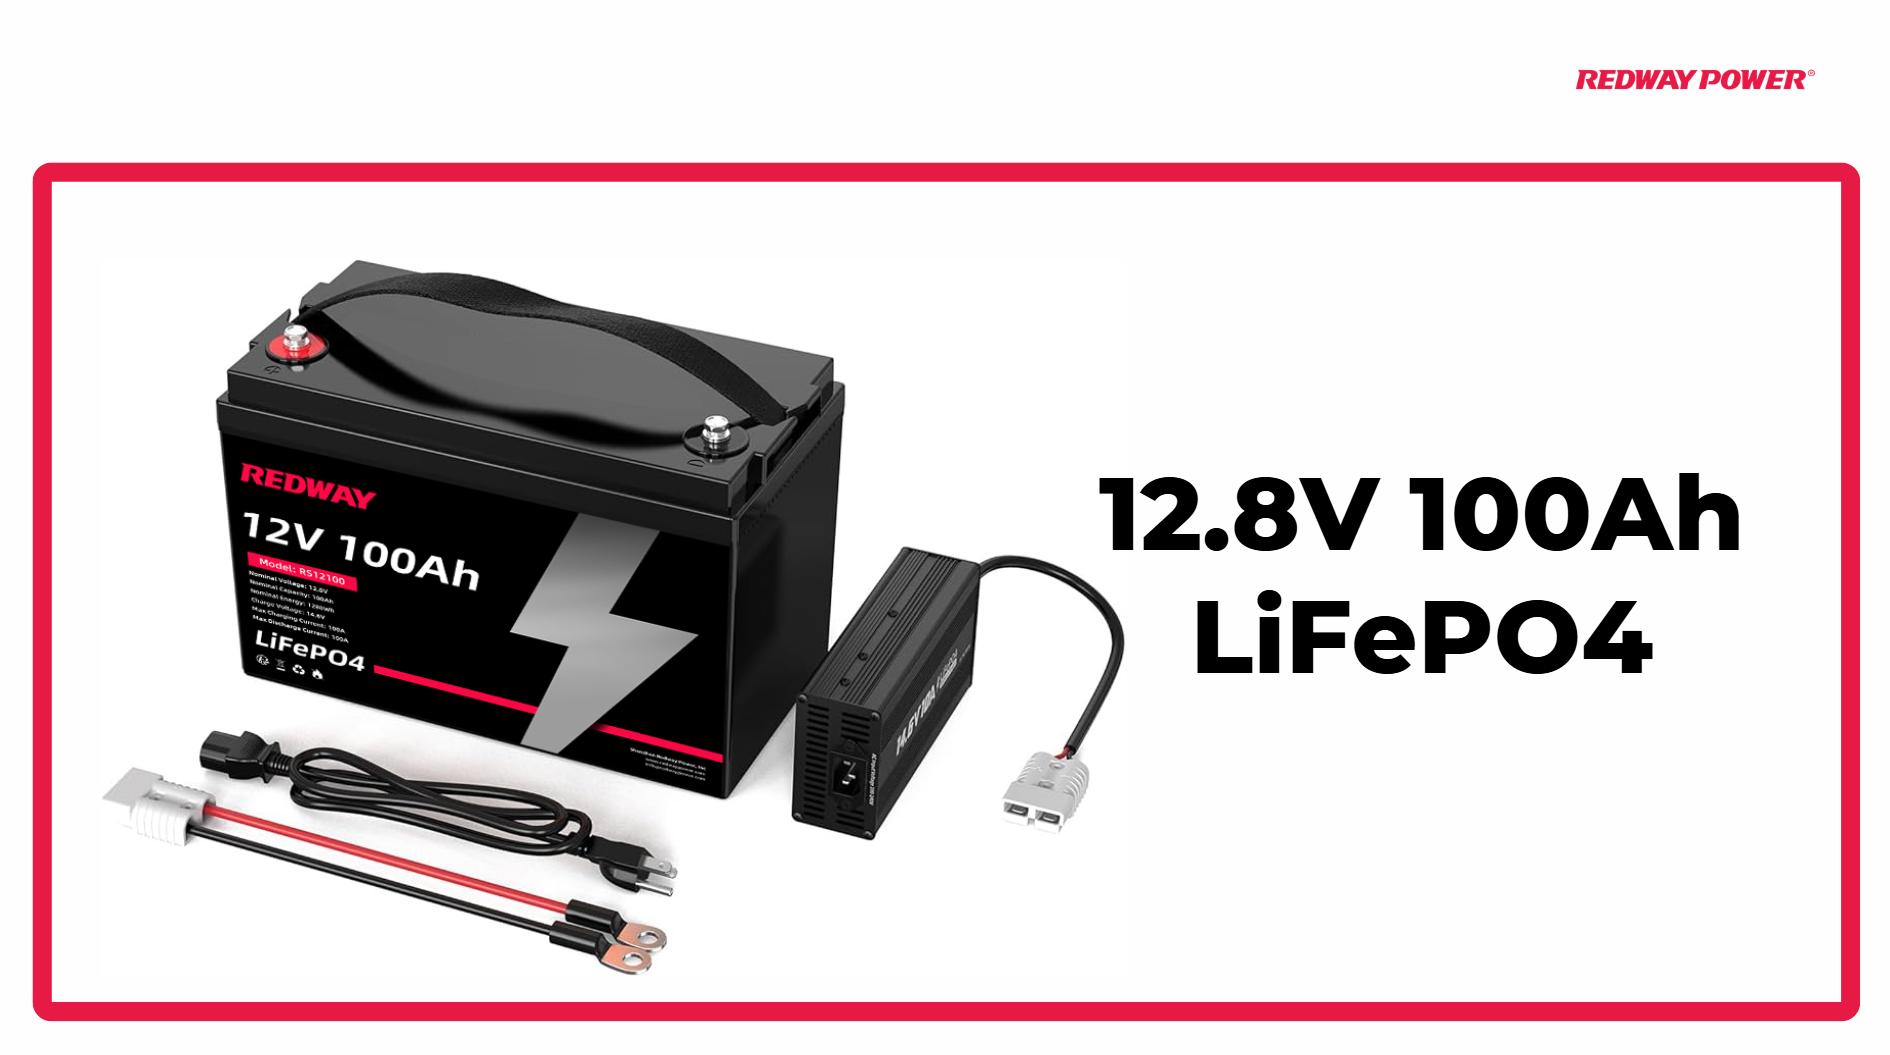
To connect a battery charger, first ensure the charger is unplugged. Connect the positive (red) clamp to the positive terminal of the battery, then connect the negative (black) clamp to the negative terminal. Finally, plug in the charger and turn it on.
Connecting a battery charger correctly is crucial for ensuring the longevity and efficiency of your battery. Whether you’re dealing with a car battery, a motorcycle battery, or any other type, understanding the proper steps can prevent damage and extend the battery’s life. In this guide, we will walk you through the meticulous process of connecting a battery charger, offering clear and precise instructions to help you achieve optimal results.
Understanding Your Battery Charger
Before diving into the connection process, it’s essential to familiarize yourself with the different types of battery chargers available. There are primarily three types: manual chargers, automatic chargers, and smart chargers. Each type has specific features and benefits:
- Manual Chargers: These require you to monitor the charging process and manually disconnect the charger once the battery is fully charged.
- Automatic Chargers: These chargers automatically stop once the battery reaches full charge, reducing the risk of overcharging.
- Smart Chargers: These are the most advanced, equipped with microprocessors that adjust the charging rate based on the battery’s needs, providing optimal charging conditions.
Understanding your charger’s capabilities will help you use it more effectively.
Preparation Before Connecting the Charger
Proper preparation is key to a safe and efficient charging process. Here’s what you need to do:
- Ensure Safety: Wear safety goggles and gloves to protect yourself from potential battery acid spills or sparks.
- Check Charger Compatibility: Verify that the charger is compatible with your battery type (e.g., lead-acid, AGM, or lithium-ion).
- Inspect Battery and Charger: Check for any visible damage to the battery and charger. Do not attempt to charge a damaged battery.
- Read Manufacturer Instructions: Always refer to the manufacturer’s instructions for specific guidance on your charger and battery.
Steps to Connect a Battery Charger
1. Turn Off the Power Source
Ensure that the vehicle or equipment connected to the battery is turned off. This minimizes the risk of sparks and electrical shorts during the connection process.
2. Position the Charger
Place the charger on a stable, flat surface close to the battery but away from any moving parts or heat sources. Ensure the charger is unplugged before connecting any cables.
3. Identify Battery Terminals
Locate the positive (+) and negative (-) terminals on both the battery and the charger. Proper identification is crucial for a successful connection.
4. Connect the Positive Cable
- Manual and Automatic Chargers: Attach the positive (red) cable from the charger to the positive terminal of the battery. Ensure a secure and clean connection.
- Smart Chargers: These may have an additional step involving the selection of the battery type on the charger itself before connecting the cables.
5. Connect the Negative Cable
- Manual and Automatic Chargers: Connect the negative (black) cable from the charger to the negative terminal of the battery. Alternatively, you can connect it to a suitable ground point on the vehicle or equipment.
- Smart Chargers: Follow any specific instructions related to connecting the negative cable provided by the manufacturer.
6. Plug in the Charger
Once both cables are securely connected, plug the charger into the power outlet. For automatic and smart chargers, follow any additional steps such as setting the charging mode or selecting the battery type.
7. Monitor the Charging Process
- Manual Chargers: Monitor the charging process closely to avoid overcharging. Disconnect the charger once the battery is fully charged.
- Automatic and Smart Chargers: These will automatically manage the charging process and typically indicate when charging is complete.
8. Disconnect the Charger
- Manual and Automatic Chargers: Unplug the charger from the power source before removing the cables. Remove the negative cable first, followed by the positive cable.
- Smart Chargers: Follow the manufacturer’s guidelines for disconnecting to ensure safe removal.
Post-Charging Care
After disconnecting the charger, ensure the battery is securely reconnected and properly positioned if it was removed from its housing. Check for any signs of damage or leaks before using the vehicle or equipment. Regularly check the battery’s charge level and overall condition to maintain optimal performance.
Troubleshooting Common Issues
If you encounter issues during the charging process, here are some common problems and their solutions:
- Battery Not Charging: Ensure all connections are secure and that the charger is functioning correctly. Check the battery’s condition; it may need replacement.
- Overcharging: Monitor the charging time and use an automatic or smart charger to prevent overcharging.
- Sparking: If sparks occur, double-check the connections and ensure that the charger is properly grounded.
How to connect a battery charger
Conclusion
Correctly connecting a battery charger is essential for maintaining your battery’s health and ensuring reliable performance. By following the detailed steps outlined in this guide, you can confidently manage the charging process, safeguard your battery, and enhance its longevity. Always adhere to safety precautions and manufacturer instructions to achieve the best results.


