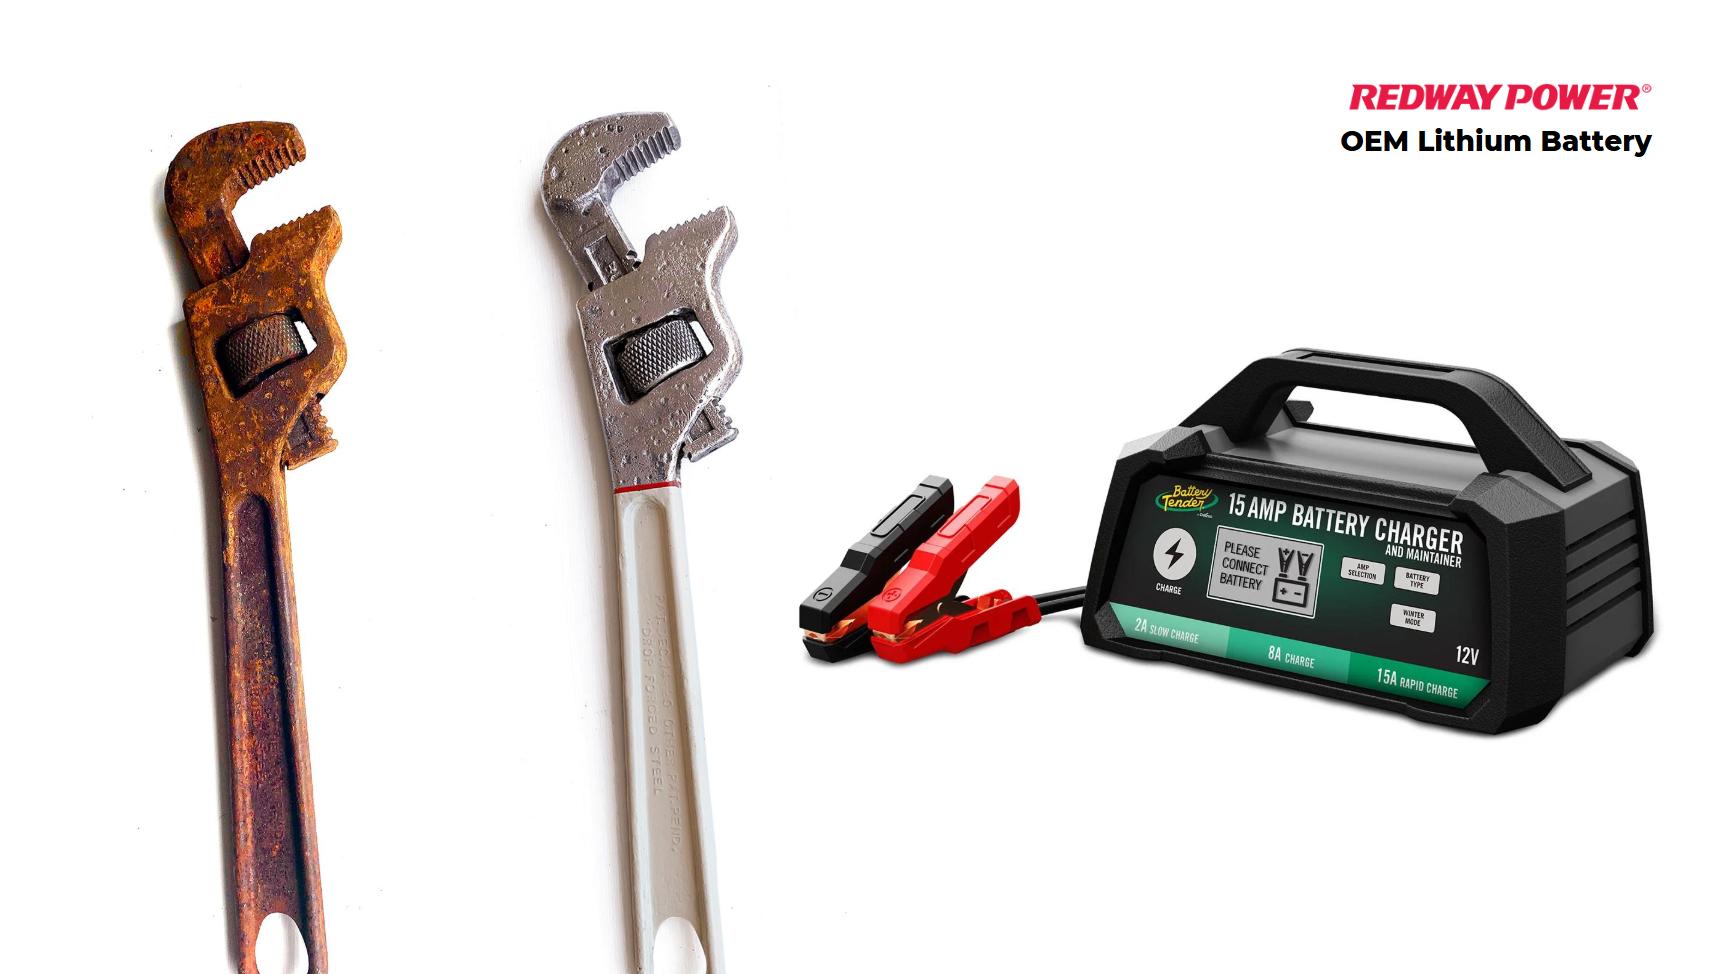
Rust can be a significant problem for metal tools and equipment, but you can effectively remove it using a battery charger through a process called electrolysis. This method is safe, efficient, and environmentally friendly, making it an excellent choice for restoring rusty items.
How does electrolysis work for rust removal?
Electrolysis is a chemical process that uses electrical current to remove rust from metal surfaces. When a rusty item is submerged in an electrolytic solution and connected to a battery charger, the electrical current causes the rust to break down and detach from the metal. This process is effective for restoring various metal items, including tools and automotive parts.
What is the proper battery charger setup for rust removal?
To set up your battery charger for rust removal, follow these steps:
- Use a non-conductive container (like a plastic bucket).
- Connect the positive lead (red) of the charger to the sacrificial anode (e.g., rebar).
- Attach the negative lead (black) to the rusty item.
- Ensure that the connections do not touch the electrolyte solution directly.
- Set the charger to a low amp setting (2-10 amps recommended) before plugging it in.
| Step | Action |
|---|---|
| 1 | Choose a non-conductive container |
| 2 | Connect positive lead to anode |
| 3 | Connect negative lead to rusty item |
| 4 | Avoid direct contact with solution |
| 5 | Set charger to low amp setting |
How do you prepare the electrolytic solution for rust removal?
Preparing the electrolytic solution is crucial for effective rust removal. Mix water with washing soda or baking soda at a ratio of 2 tablespoons per gallon of water. This solution conducts electricity well and enhances the electrolysis process. Stir thoroughly until dissolved, ensuring it’s well mixed before submerging your rusty item.
| Ingredient | Amount |
|---|---|
| Water | 1 gallon |
| Washing soda | 2 tablespoons |
What are the safety precautions when using electrolysis?
Safety is paramount when using electrolysis. Always wear rubber gloves and goggles to protect against splashes from the electrolyte solution. Ensure your workspace is well-ventilated, and avoid any contact between electrical connections and water. Unplug the battery charger before making or adjusting any connections to prevent accidents.
How can you maintain tools after rust removal?
After successfully removing rust, it’s essential to maintain your tools to prevent future corrosion. Rinse them thoroughly with clean water to remove any residual electrolyte solution, then dry them completely. Apply a light coat of oil or protective spray to create a barrier against moisture and oxidation, ensuring longevity.
Expert Opinions
“Electrolysis is not only effective but also safe when done correctly. Always ensure proper setup and safety measures are in place,” says John Smith, a restoration expert with over 15 years of experience in metal preservation. “Maintaining cleaned items with oil can significantly extend their life.”
Conclusion
Using a battery charger for rust removal through electrolysis is an efficient method that can restore your metal tools and equipment effectively. By understanding how electrolysis works, setting up your battery charger correctly, preparing an effective electrolytic solution, adhering to safety precautions, and maintaining your tools post-treatment, you can achieve excellent results while prolonging the life of your items.

Rust Removal with a Battery Charger
Using a battery charger for rust removal is a powerful technique that leverages electrolysis to restore your items to a rust-free condition. By following the steps outlined in this guide and taking the necessary precautions, you can effectively eliminate rust and preserve the integrity of your valuable possessions. This method not only provides an economical solution but also delivers exceptional results, making it an excellent choice for DIY enthusiasts and professionals alike.
FAQ Section
- Can I use any battery charger for electrolysis?
Yes, but ensure it has adjustable amp settings; lower amps are safer. - How long does the electrolysis process take?
The duration varies; typically, it takes 12-24 hours depending on rust severity. - Is this method safe for all metals?
Electrolysis works best on iron and steel; avoid using it on aluminum or brass. - What should I do if my item doesn’t clean properly?
You can repeat the process by refreshing the electrolytic solution and extending treatment time. - Are there any alternatives to electrolysis for removing rust?
Yes, alternatives include sandblasting, chemical rust removers, or mechanical scrubbing methods.


