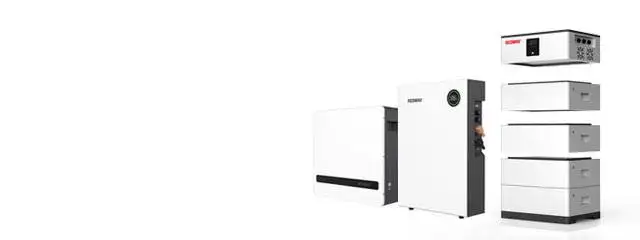


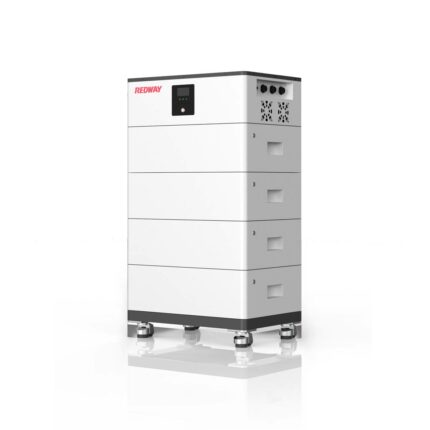
51.2V All-in-One Home-ESS System PowerAll (5kWh/10kWh/16kWh/21kWh/26kWh/32kWh)
$1.00
• Cell: LiFePO4
• MOQ: 1
• Delivery: 25 Days
• Customizable / OEM / ODM: Yes
• Factory: Redway Dongguan
• Delivery Terms: FOB, EXW, CIF
• Payment: T/T, L/C, PayPal
• Sea / Air / Land Shipment: 10FT, 20FT, 40FT, 60FT
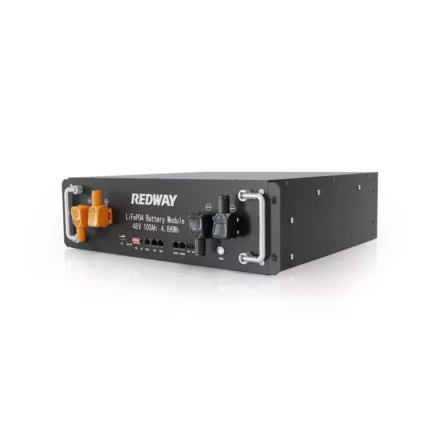
48V 100Ah Server Rack Battery PRO
$1.00
• Cell: LiFePO4
• MOQ: 5
• Delivery: 20 Days
• Customizable / OEM / ODM: Yes
• Factory: Redway Dongguan
• Delivery Terms: FOB, EXW, CIF
• Payment: T/T, L/C, PayPal
• Sea / Air / Land Shipment: 10FT, 20FT, 40FT, 60FT
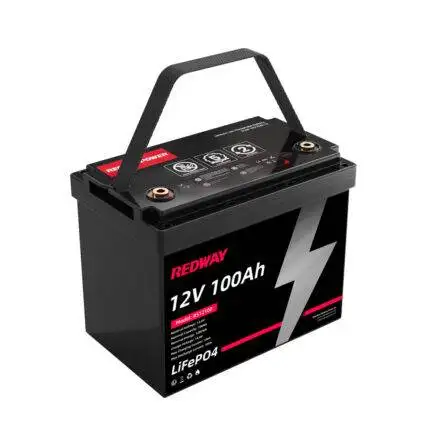
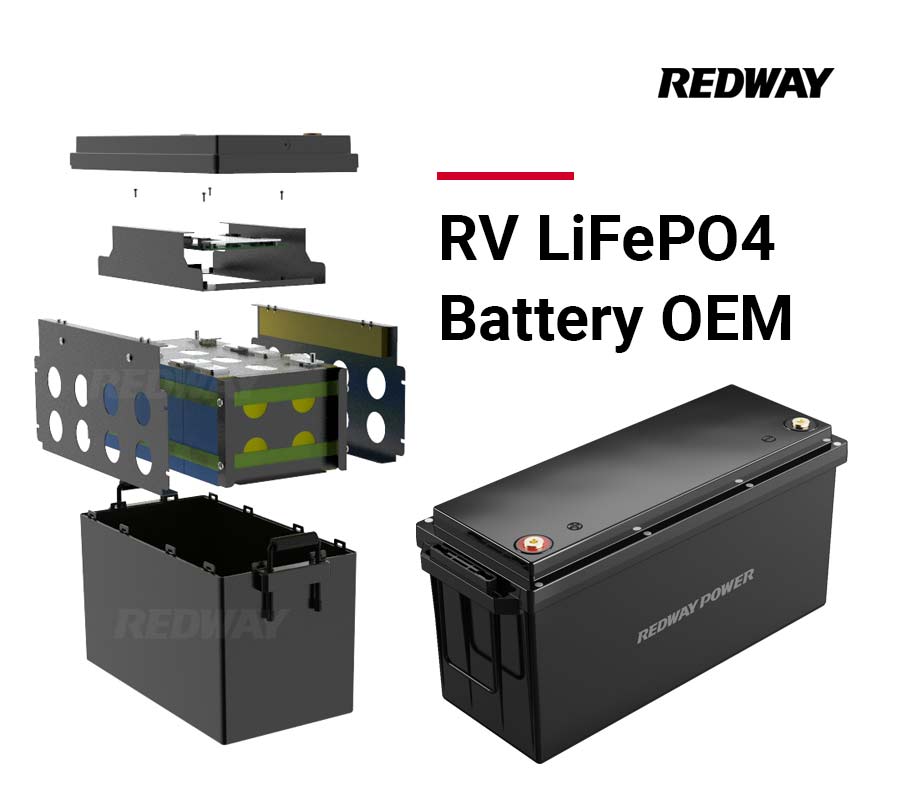
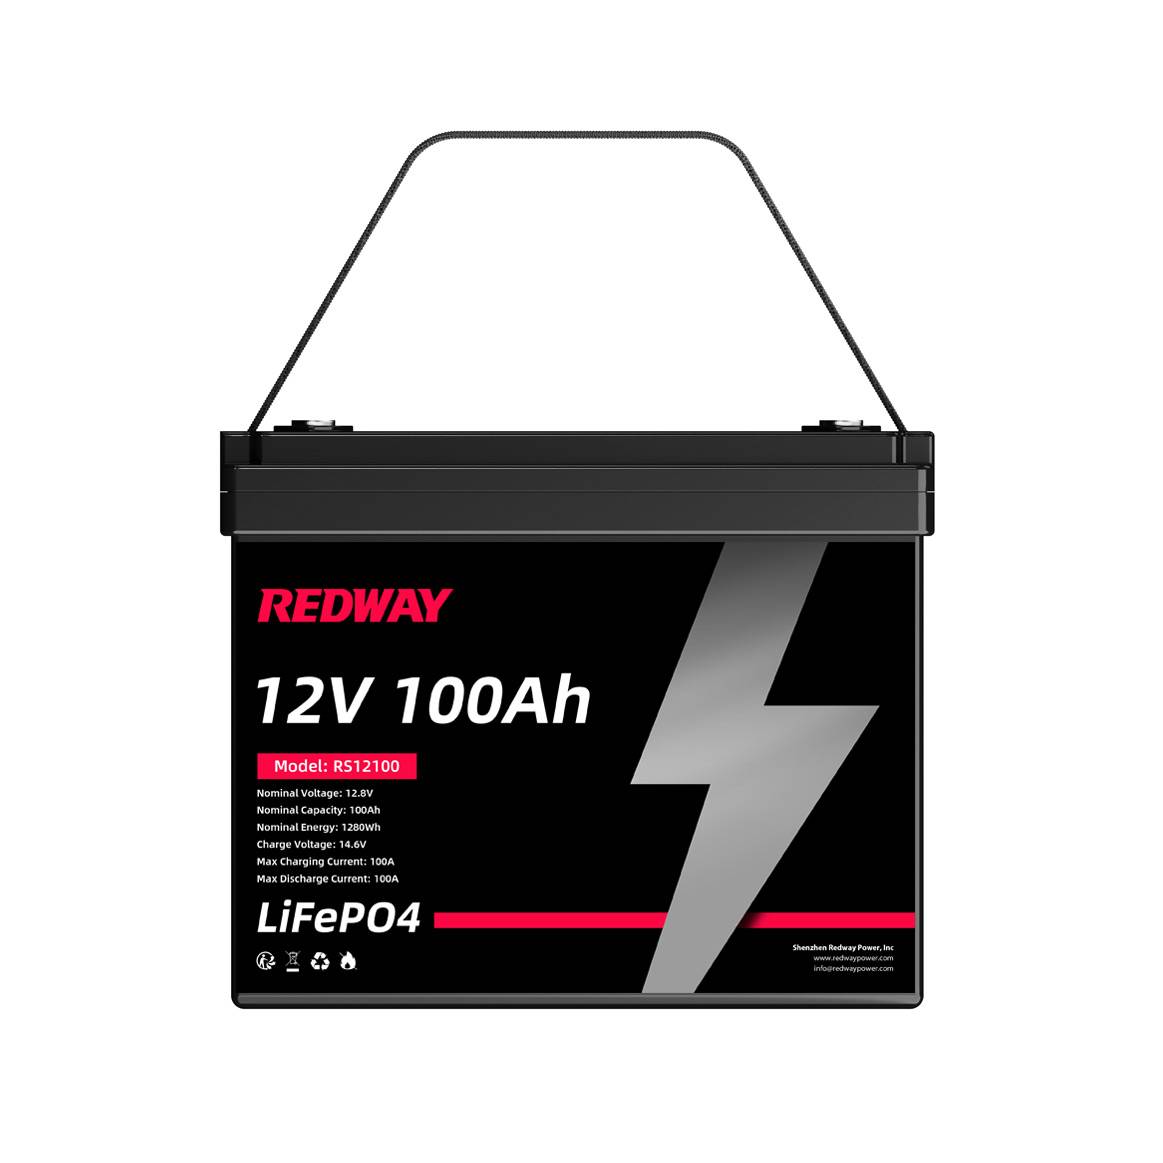
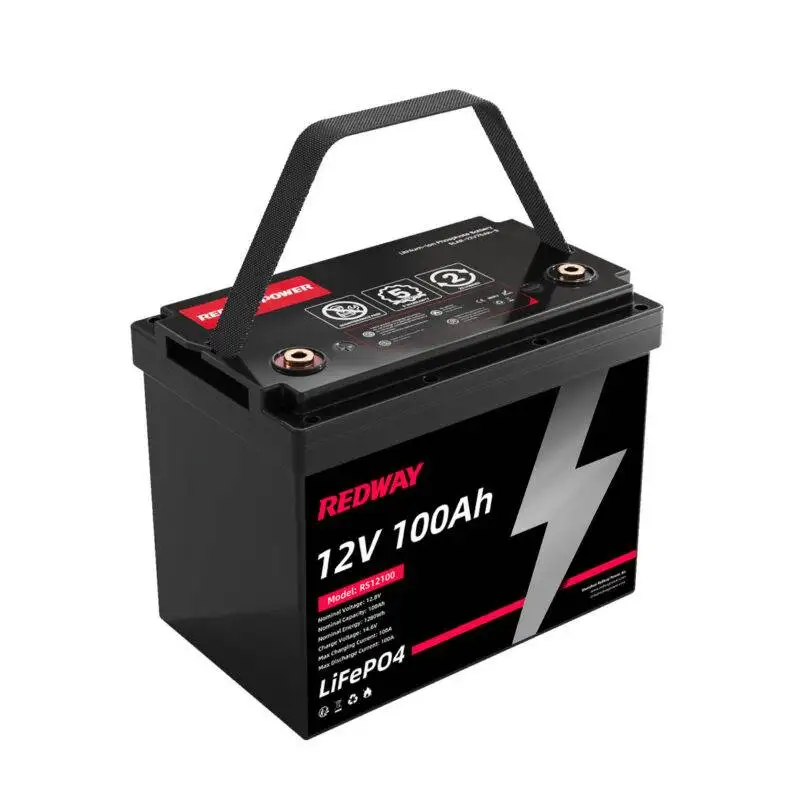
12V 100Ah Lithium Battery (LiFePO4, Self-heating, OEM)
$1.00
• BCI Group Size: Group 24
• Cell: LiFePO4
• MOQ: 1
• Redway Factory Daily Production Capacity: 2000 PCS
• Customizable / OEM / ODM: Yes
• Factory: Redway Huizhou
• Delivery Terms: FOB, EXW, CIF
• Payment: T/T, L/C, PayPal
• Sea / Air / Land Shipment: 10FT, 20FT, 40FT, 45FT
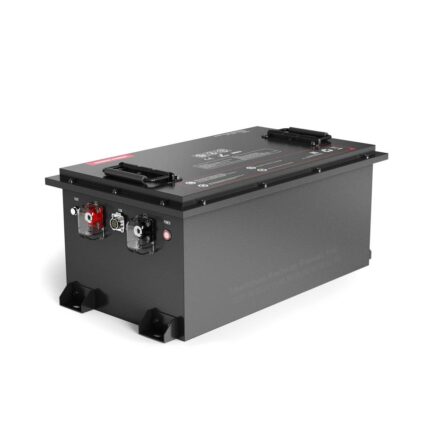
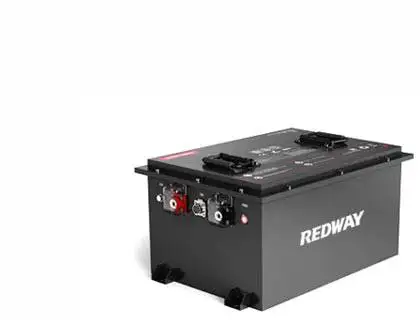
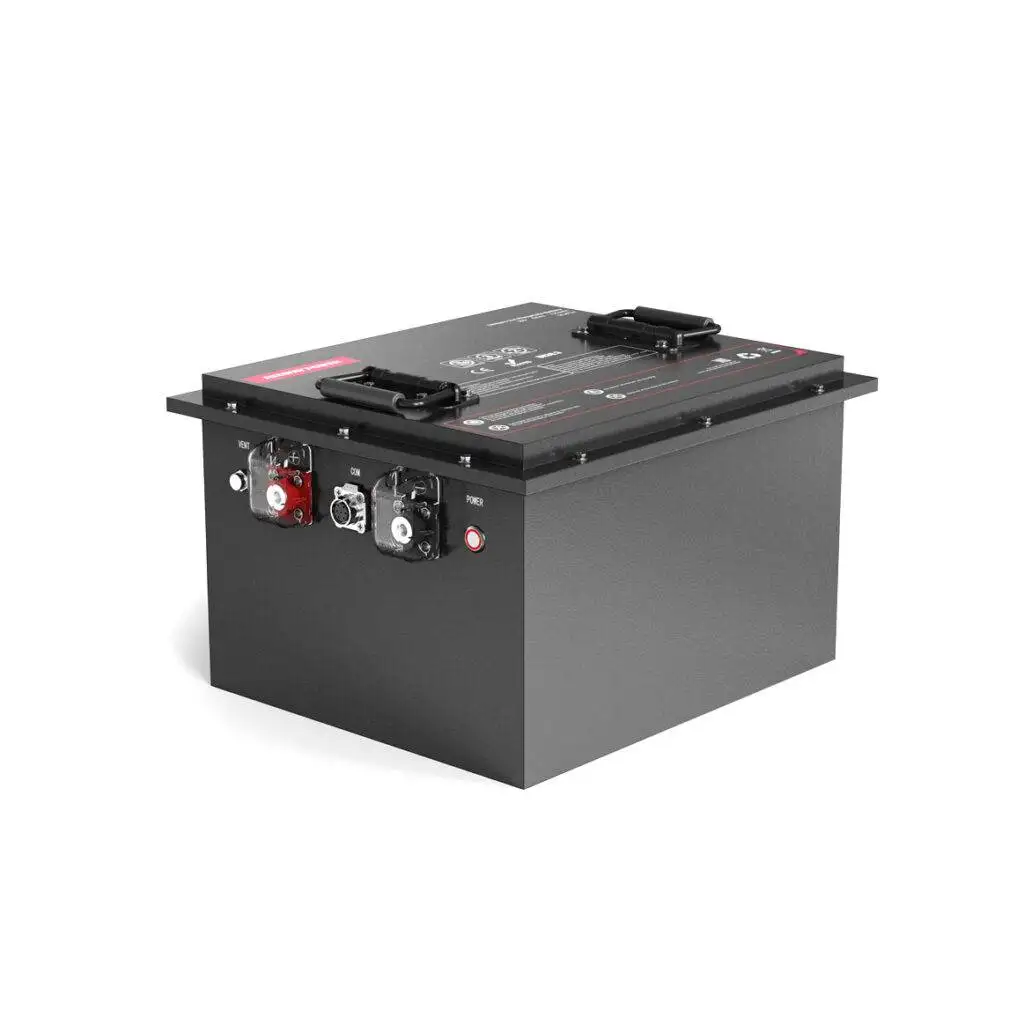
48V 100Ah LiFePO4 Golf Cart Battery (S51105P)
• Cell: LiFePO4
• MOQ: 5
• Redway Factory Daily Production Capacity: 2000 PCS
• Customizable / OEM / ODM: Yes
• Factory: Redway Huizhou
• Delivery Terms: FOB, EXW, CIF
• Payment: T/T, L/C, PayPal
• Sea / Air / Land Shipment: 10FT, 20FT, 40FT, 60FT

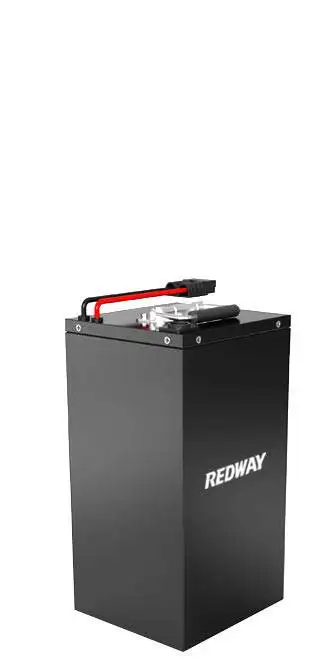
72V 50Ah Lithium Golf Cart Battery
• Cell: LiFePO4
• MOQ: 1
• Redway Factory Daily Production Capacity: 2000 PCS
• Customizable / OEM / ODM: Yes
• Factory: Redway Huizhou
• Delivery Terms: FOB, EXW, CIF
• Payment: T/T, L/C, PayPal
• Sea / Air / Land Shipment: 10FT, 20FT, 40FT, 60FT
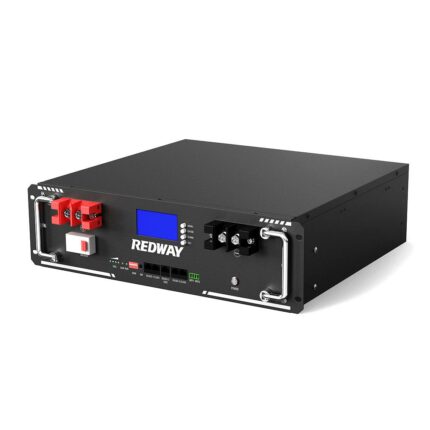
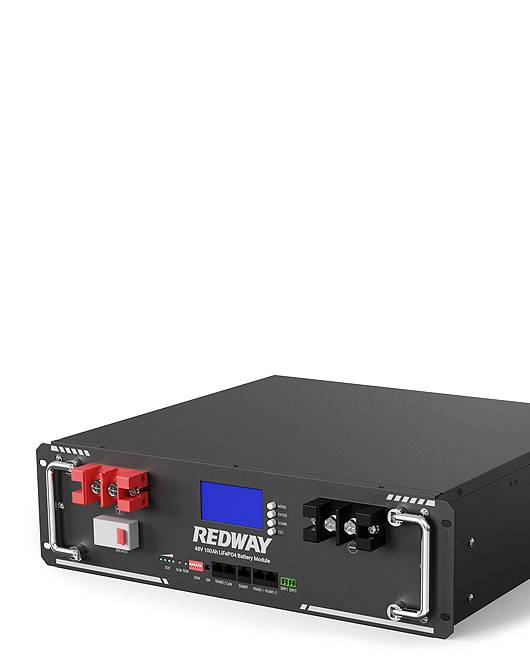
48V 100Ah Server Rack Battery
$1.00
• Features: 48V or 51.2V / Height 3U / EVE Grade-A LiFePO4 Cell / >8000 Cycles Lifespan (80% DOD) / Bluetooth APP / 64 PCS Parallel Connection / 4G & WiFi / 19" Inches / 20 Years Design Life / RS485 * 3 / CAN * 2 / Silkscreen Customization
• MOQ: 5
• Delivery: 20 Days
• Customizable / OEM / ODM: Yes
• Factory: Redway Dongguan
• Delivery Terms: FOB, EXW, CIF
• Payment: T/T, L/C, PayPal
• Sea / Air / Land Shipment: 10FT, 20FT, 40FT, 60FT
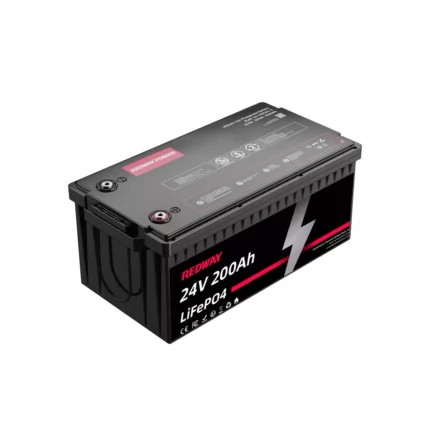
24V 200Ah Lithium Battery
$1.00
• BCI Group Size: Group 8D
• Cell: LiFePO4
• MOQ: 5
• Redway Factory Daily Production Capacity: 2000 PCS
• Customizable / OEM / ODM: Yes
• Factory: Redway Huizhou
• Delivery Terms: FOB, EXW, CIF
• Payment: T/T, L/C, PayPal
• Sea / Air / Land Shipment: 10FT, 20FT, 40FT, 60FT
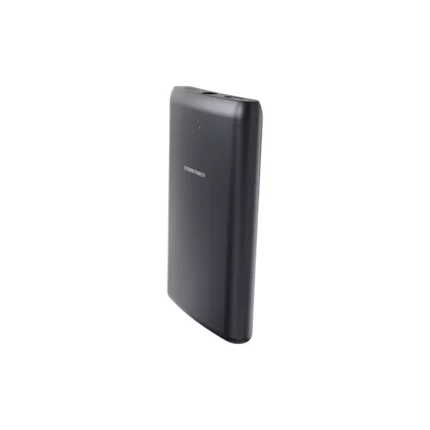
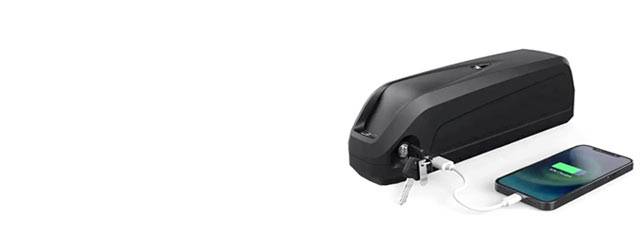
Power Bank
• Technology Features: MagSafe, Magnetic, Wireless Charge, 3 in 1, 4 in 1, 2 in 1, etc.
• OEM / ODM Brands: DMOOSTER
• MOQ: 5,000
• Customizable / OEM / ODM: Yes
• Factory: Redway Dongguan
• Certification: UL, FCC, CE
• Delivery Terms: FOB, EXW, CIF
• Payment: T/T, L/C, PayPal
• Sea / Air / Land Shipment: 10FT, 20FT, 40FT, 60FT