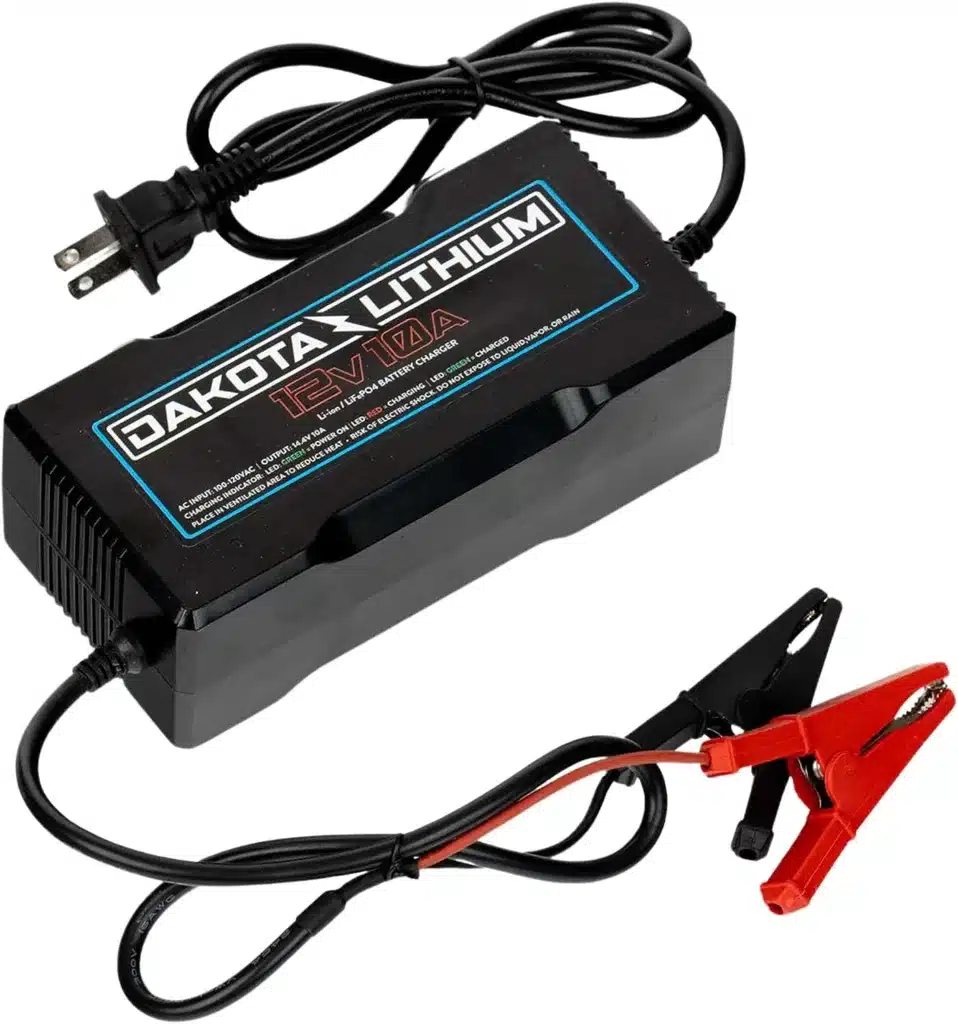
Ensuring the longevity and optimal performance of your lithium motorcycle battery hinges on proper charging techniques. This comprehensive guide will walk you through each step necessary to safely charge your battery, including preparation, charger selection, connection procedures, and post-charging checks. Follow these detailed instructions to enhance the safety and efficiency of your charging process.
1. Preparing for Charging: Essential Precautions
Before initiating the charging process, it is crucial to prepare both your work environment and the battery itself. Proper preparation ensures not only the safety of the charging procedure but also the longevity of your battery.
1.1. Choose a Well-Ventilated Area
Select a cool, dry, and well-ventilated area for charging. Lithium batteries can emit gases during charging, and a well-ventilated space will help dissipate these gases, reducing the risk of accumulation and potential hazards. Avoid charging in confined or high-temperature environments.
1.2. Inspect the Battery and Charger
Examine both the battery terminals and the charger for any visible signs of damage. Ensure that the battery terminals are clean and free from corrosion, which could impede the charging process or create safety hazards. Additionally, verify that the charger is compatible with lithium battery chemistry and is in good working condition.
1.3. Review the Manufacturer’s Guidelines
Refer to the manufacturer’s instructions for both your motorcycle battery and charger. Different models may have specific requirements or recommendations. Adhering to these guidelines will help you avoid potential issues and ensure optimal charging performance.
2. Selecting the Right Charger for Your Lithium Motorcycle Battery
Choosing the appropriate charger is critical for the safe and effective charging of your lithium motorcycle battery. The following factors will guide you in selecting the right charger.
2.1. Charger Compatibility
Ensure that the charger is specifically designed for lithium batteries. Lithium batteries require chargers with precise voltage and current control to avoid overcharging and potential damage. Look for chargers labeled as LiFePO4-compatible or those explicitly designed for lithium-ion technology.
2.2. Check Charging Specifications
Verify that the charger’s voltage output matches the nominal voltage of your battery. For instance, if your battery is a 12V lithium battery, the charger should also be rated for 12V. Similarly, confirm that the charging current is appropriate for your battery’s capacity, typically specified in the battery’s technical datasheet.
2.3. Safety Features
Opt for a charger equipped with safety features such as overcharge protection, short circuit protection, and temperature monitoring. These features help safeguard your battery and charging setup from potential malfunctions and hazards.
3. Connecting and Charging the Battery
Proper connection and charging techniques are vital for ensuring the safety and efficiency of the charging process. Follow these steps for optimal results.
3.1. Turn Off the Motorcycle
Before connecting the charger, ensure that the motorcycle’s ignition and any electrical components are turned off. This precaution prevents any unintended electrical interactions that could lead to safety risks.
3.2. Connect the Charger to the Battery
- Connect the Positive Terminal: Attach the positive (red) charger lead to the positive terminal of the battery. Ensure a secure connection to avoid any potential sparking or loose connections.
- Connect the Negative Terminal: Similarly, attach the negative (black) charger lead to the negative terminal of the battery. Again, ensure that the connection is firm and secure.
3.3. Set the Charger Parameters
If your charger has adjustable settings, configure it according to the battery’s specifications. Set the correct voltage and current based on the battery’s requirements to avoid overcharging or undercharging.
3.4. Initiate Charging
Activate the charger and monitor the charging process. Most chargers will display the charging status and progress, which can help you track the battery’s charge level. Ensure that the battery remains in a stable and secure position throughout the charging cycle.
4. Post-Charging Checks and Maintenance
After the charging process is complete, performing a few post-charging checks will ensure that the battery is in optimal condition and ready for use.
4.1. Disconnect the Charger
Once the charging cycle is finished, first turn off the charger before disconnecting the leads. Remove the negative (black) lead followed by the positive (red) lead to minimize the risk of sparks or accidental short circuits.
4.2. Inspect the Battery
Examine the battery for any signs of swelling, leakage, or unusual odor. These could indicate potential issues such as overcharging or internal damage. If you notice any abnormalities, consult a professional technician before using the battery.
4.3. Check Battery Voltage
Use a multimeter to verify that the battery’s voltage is within the recommended range. Compare the reading with the battery’s nominal voltage to ensure that it is fully charged and in good working condition.
4.4. Store the Battery Properly
If you do not plan to use the motorcycle immediately, store the battery in a cool, dry place. Avoid leaving it in direct sunlight or extreme temperatures, which can affect its performance and longevity.
Conclusion
Charging a lithium motorcycle battery requires attention to detail and adherence to safety practices. By preparing appropriately, selecting the right charger, following correct connection procedures, and performing thorough post-charging checks, you can ensure that your battery remains in peak condition. This systematic approach not only enhances the performance of your motorcycle but also extends the battery’s overall lifespan. Adhering to these guidelines will provide peace of mind and reliable performance for your motorcycle adventures.


